size? Captures: Creators Series – @youthjunkstudio

Share This:
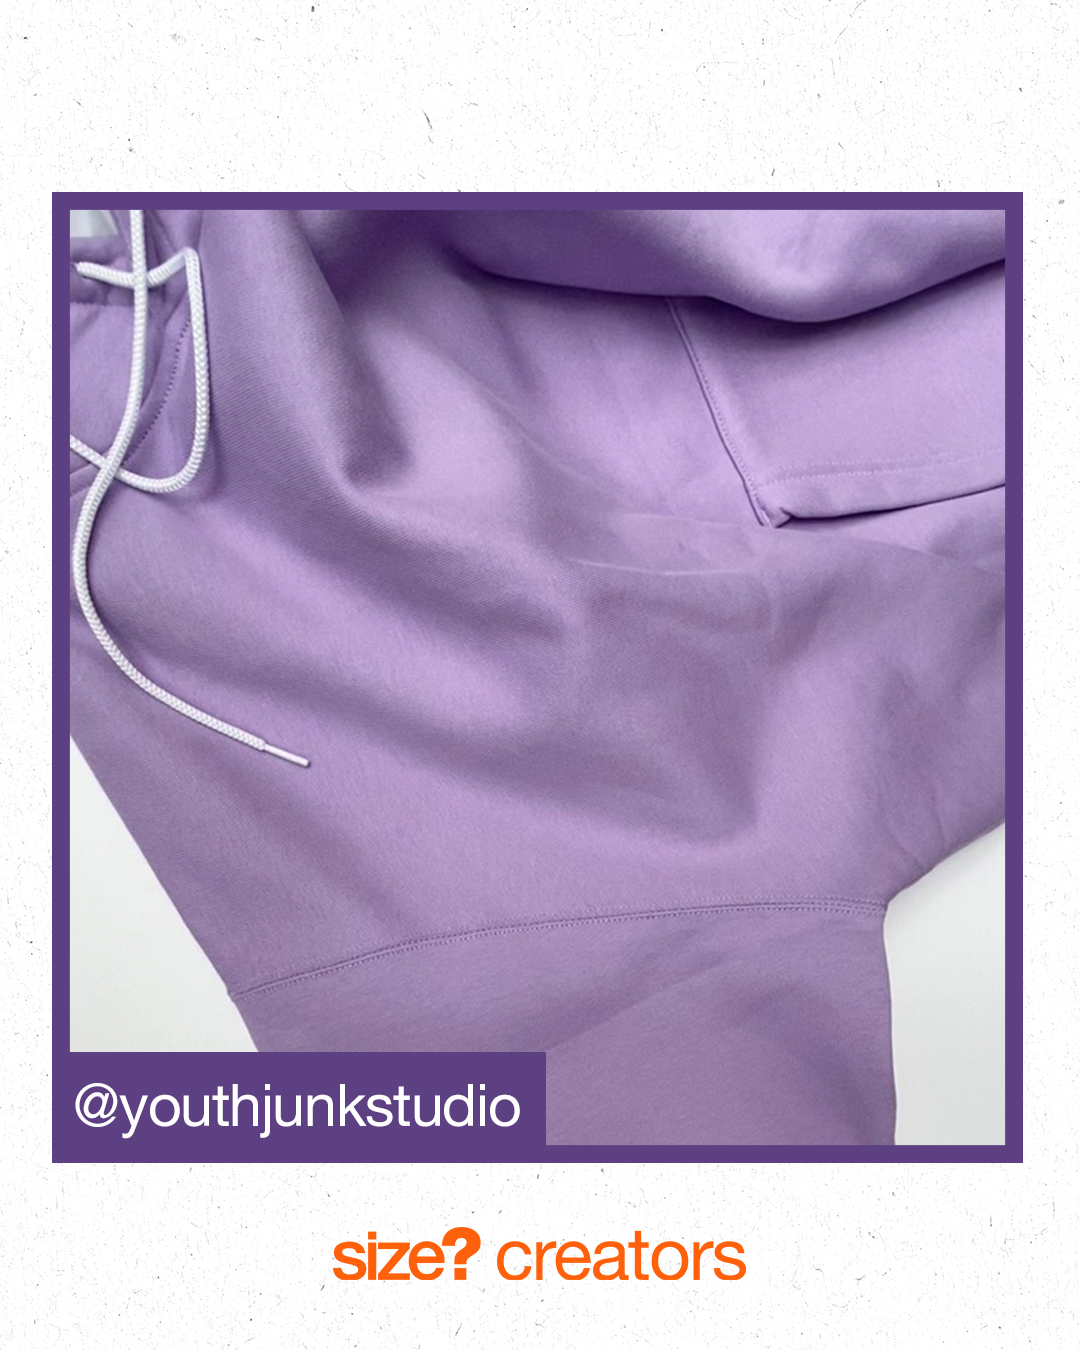
For our latest Creators Series, we have linked up with @youthjunkstudio to showcase its creative expertise and shine a light on female talent in the community. @youthjunkstudio have builtquite the following for their modern takes on early ’90s sportswear.
To represent their talent, @youthjunkstudio have reconstructed a corset out of some Nike NRG apparel.
Lauren, the owner and designer of Youth Junk Studio talked us through her work…
“I love to create modern interpretations of corsetry, influenced by early 90’s fashion and the 2000’s Y2K era. Many of my designs are sportswear based which is often perceived as “male-dominated” and less feminine. One of my goals is to break this stereotype and show that sportswear can be designed to accentuate & appreciate the female silhouette. “
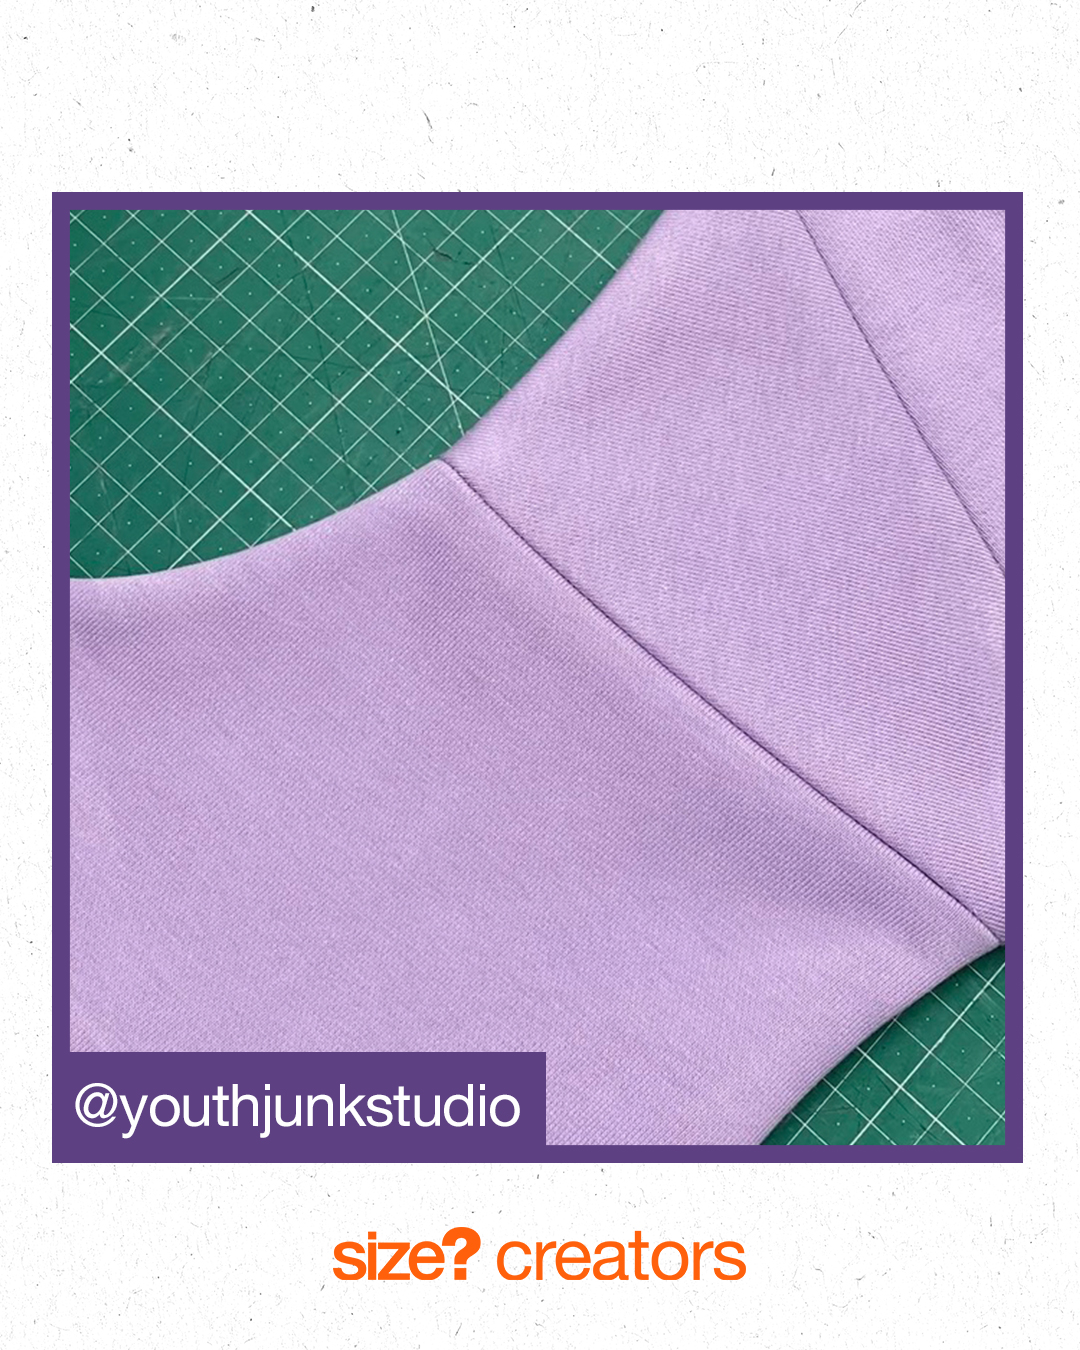
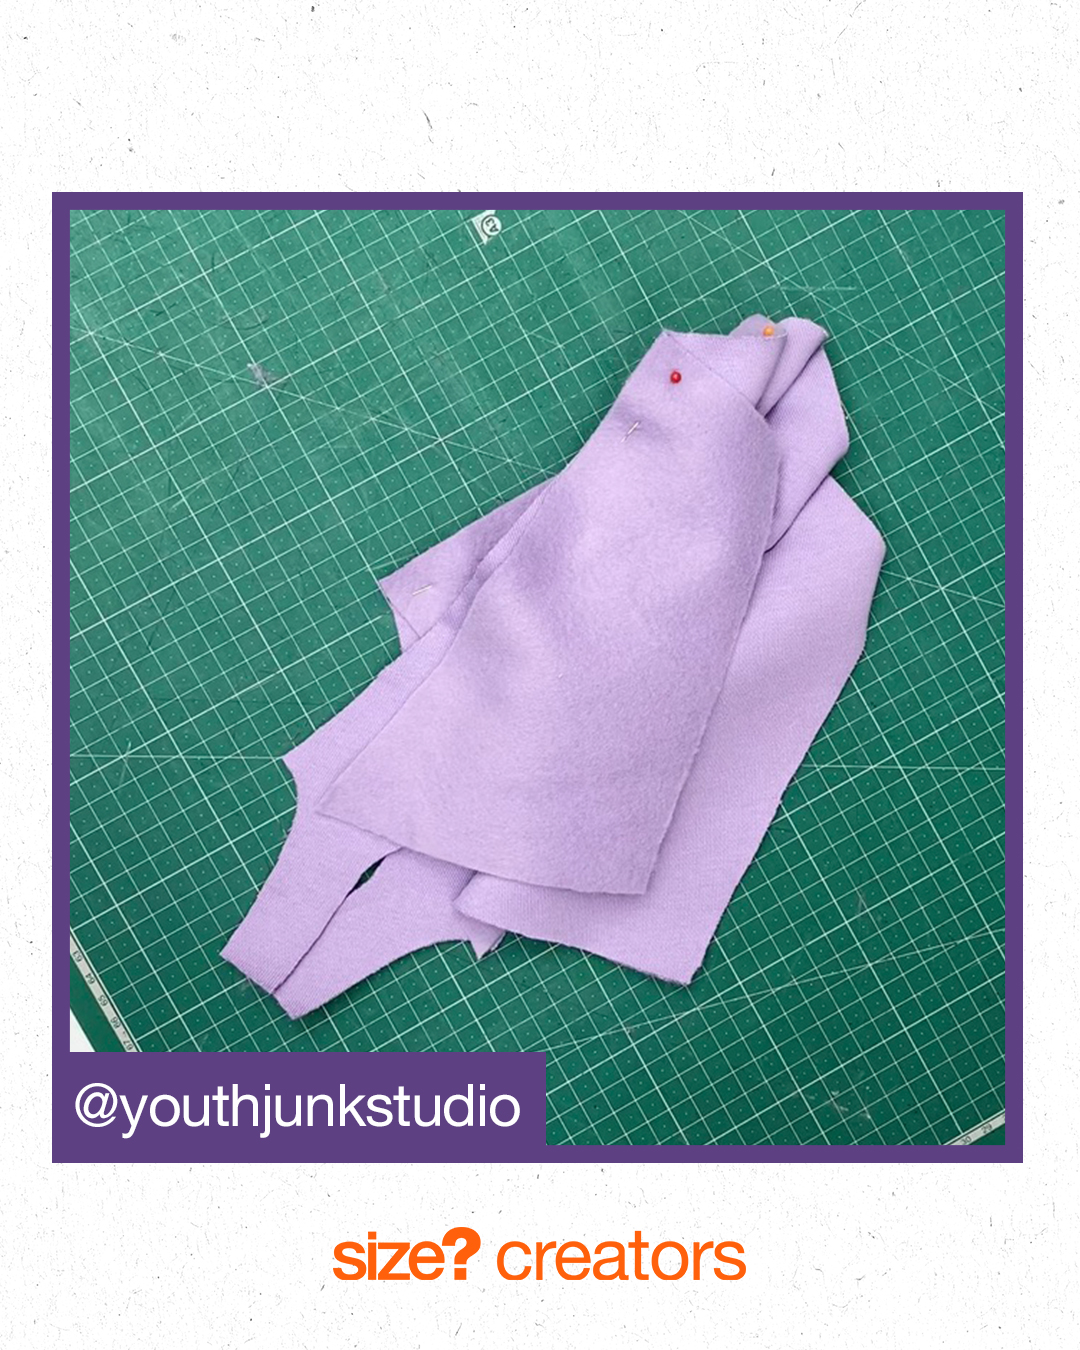
“For this piece, I wanted to create a festival-ready Nike co-ord with a bustier corset to match the tracksuit bottoms. I began by cutting out all my fabric from the Nike NRG Hoodie so I know exactly how much I have to work with. I then placed all my pattern pieces and cut out, making sure the position of the Nike swoosh is replicated from the original design.”
“After cutting out all my pieces, I sewed the back and front together using a simple straight stitch. Once these are in place, I then sandwich both sides together (right sides facing inwards) and sew them together.”

“When sewing these pieces, it is important to leave a gap to turn inside out. To sew the boning channels, you need to straight stitch over the lines you created when sewing the front panels together. Once this is done, you then stitch two identical channels on either side (mine are usually 1cm wide).”
“For the most comfortable fit, I recommend using cable ties as boning as they mould to your body shape with wear and are more flexible than metal. Once the boning is in place, cut off the excess and pin your O-rings in place ready for the straps to be added. Straight stitch around the edge of your corset to secure. When this is complete you have finished your corset base and you can go ahead with making the straps.”
“I recommend making adjustable straps so you can change the tightness if needed. For the straps, I cut out four 2”x30” rectangles, folded and straight stitch down one side of each piece. This will create a tunnel which you will then turn inside out using a safety pin. To add the straps, loop the fabric round the O-Ring and stitch in place. Repeat for all 4 straps.”
“Finally, you can then add the eyelets to the back of your corset to create the lace-up back. To do this I use 10mm nickel eyelets and an eyelet press. CAREFULLY create a hole using a scissor and place the front of the eyelet in the hole, add the backing and press. If you do not have a press machine you can also use an eyelet hammer which was be purchased from any haberdashery/sewing store.”

Check out the size blog for more instalments to our Creators Series.
Share This: